HDD Stress Test
First step, S.M.A.R.T. tests (Scan HDD for problems)
We will use smartctl for this step, to get the state of the HDD before we stress it.
You can view the progress of any of the following tests with this:
smartctl -a /dev/sdX
The progress (in percentage) of the test is in the line Self-test execution status:
| Running Test | Finished Test |
|---|---|
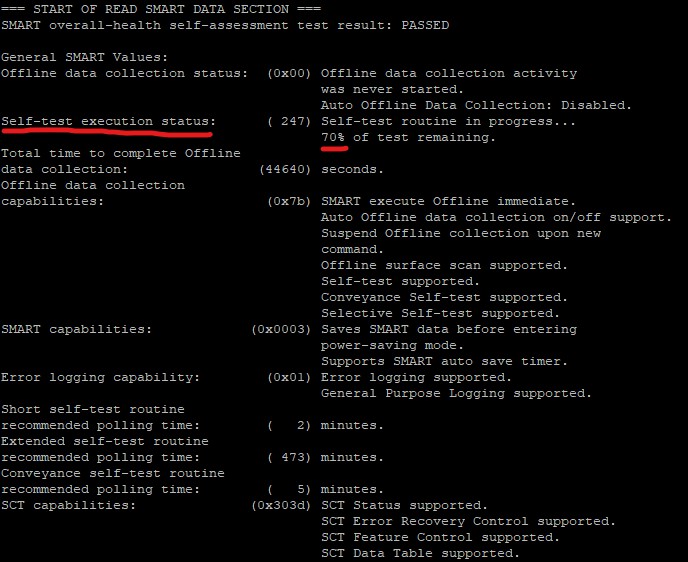 | 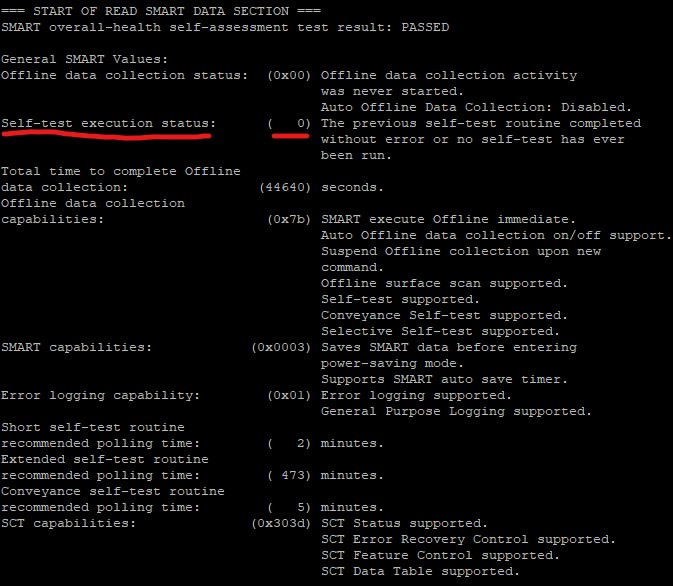 |
Zero (0) means our test is finished or no test is running.
You can always stop a test with smartctl -X /dev/sdX
Replace X with your driver letter
Short test
First test will be the short.
smartctl -t short /dev/sdX
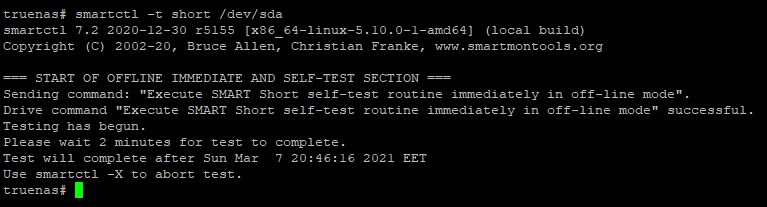
Approximately 2 minutes on a 4TB HDD.
Conveyance test
Second test will be the conveyance.
smartctl -t conveyance /dev/sdX
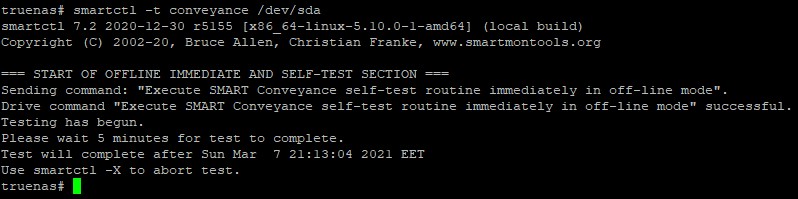
Approximately 5 minutes on a 4TB HDD.
Long test
Last test will be the long.
smartctl -t long /dev/sdX

Approximately 500 minutes on a 4TB HDD. This test can take a lot of time, depending on your HDD size.
Second step, stressing the HDD
Preparation
This step should be down with SSH, using tmux. This will help to keep test running even if the connection is lost.
Enable SSH service on TrueNAS (System Settings -> Services -> SSH)

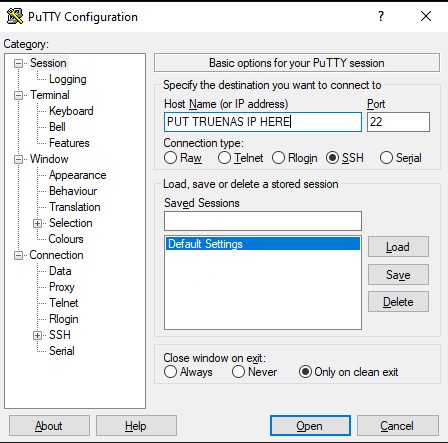
Open your SSH client of your choice, I will use Putty.
SSH to TrueNAS, using it's IP address and login
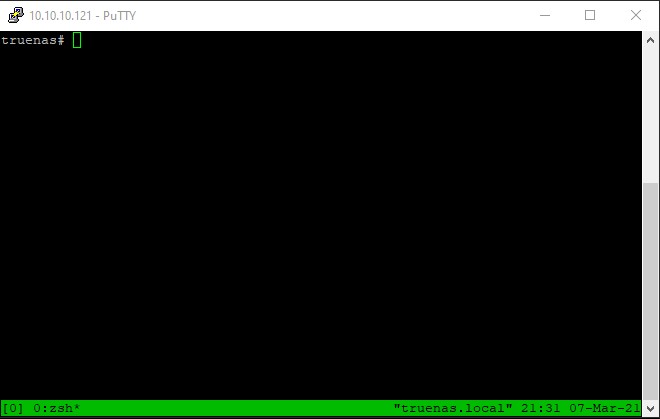
Type tmux You can now see a green bar on the bottom of the terminal
HDD Stress
This step will DELETE any data on the HDD
Now lets stress the HDD
badblocks -b 4096 -wvs /dev/sdX
-b sets the block size
-w does a destructive stress, meaning that will DELETE all data on that disk
-v prints verbose info
-s prints progress
badblocks do 4 passes:
-First pass testing with pattern 0xaa (10101010)
-Then Reading and comparing
-Second pass testing with pattern 0x55 (01010101)
-Then Reading and comparing
-Third pass testing with pattern 0xff (11111111)
-Then Reading and comparing
-Fourth pass testing with pattern 0x00 (00000000)
-Then Reading and comparing
Missing image of badblocks running, Sorry
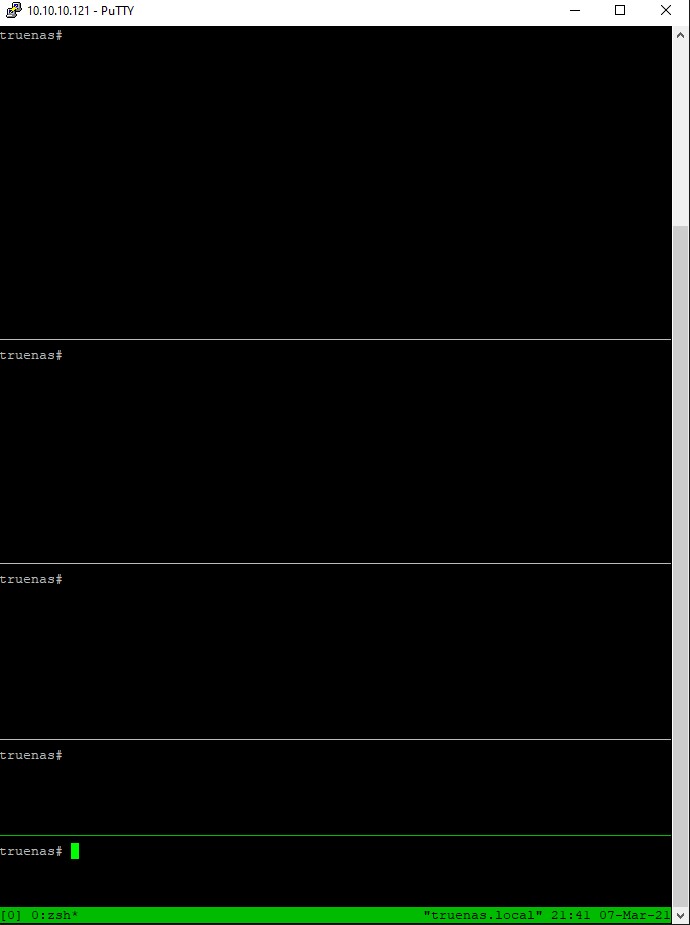
To run the test to the other HDDs, press Ctrl+B then ", this will split the screen,
there you can run badblocks on the next HDD. You can split as many times as you want.
After starting badblocks for all your HDDs, you can leave the ssh open or close it. In order to reconnect later,
ssh back to TrueNAS, and do tmux attach
badblocks result example of good HDDs:
truenas# badblocks -b 4096 -wvs /dev/sda
Checking for bad blocks in read-write mode
From block 0 to 976754645
Testing with pattern 0xaa: done
Reading and comparing: done
Testing with pattern 0x55: done
Reading and comparing: done
Testing with pattern 0xff: done
Reading and comparing: done
Testing with pattern 0x00: done
Reading and comparing: done
Pass completed, 0 bad blocks found. (0/0/0 errors)
Third step, Results
When badblocks stresses is over. We need to do another long test on each HDD.
smartctl -t long /dev/sdX
After long is done, is time for our results.
We get them with this:
smartctl -A /dev/sdX (Note the capital A)
The important fields are Reallocated_Sector_Ct, Current_Pending_Sector, and Offline_Uncorrectable lines.
All these should have RAW_VALUE of 0, even if the VALUE field is listed as 200.
Any result greater that 0 should be a cause for RMA.
smartctl -A /dev/sdX result of good HDDs:
